Your Creative Cave Awaits: Building a Home Studio That Actually Works
Start Where You Are, Not Where You Think You Should Be
That corner of your bedroom isn’t too small. Your kitchen table isn’t too ordinary. The truth about creating art is this: the magic happens in the making, not in the perfect space. I’ve seen beautiful watercolors born on TV trays and sculptures carved in basements that smell faintly of old paint and possibility.
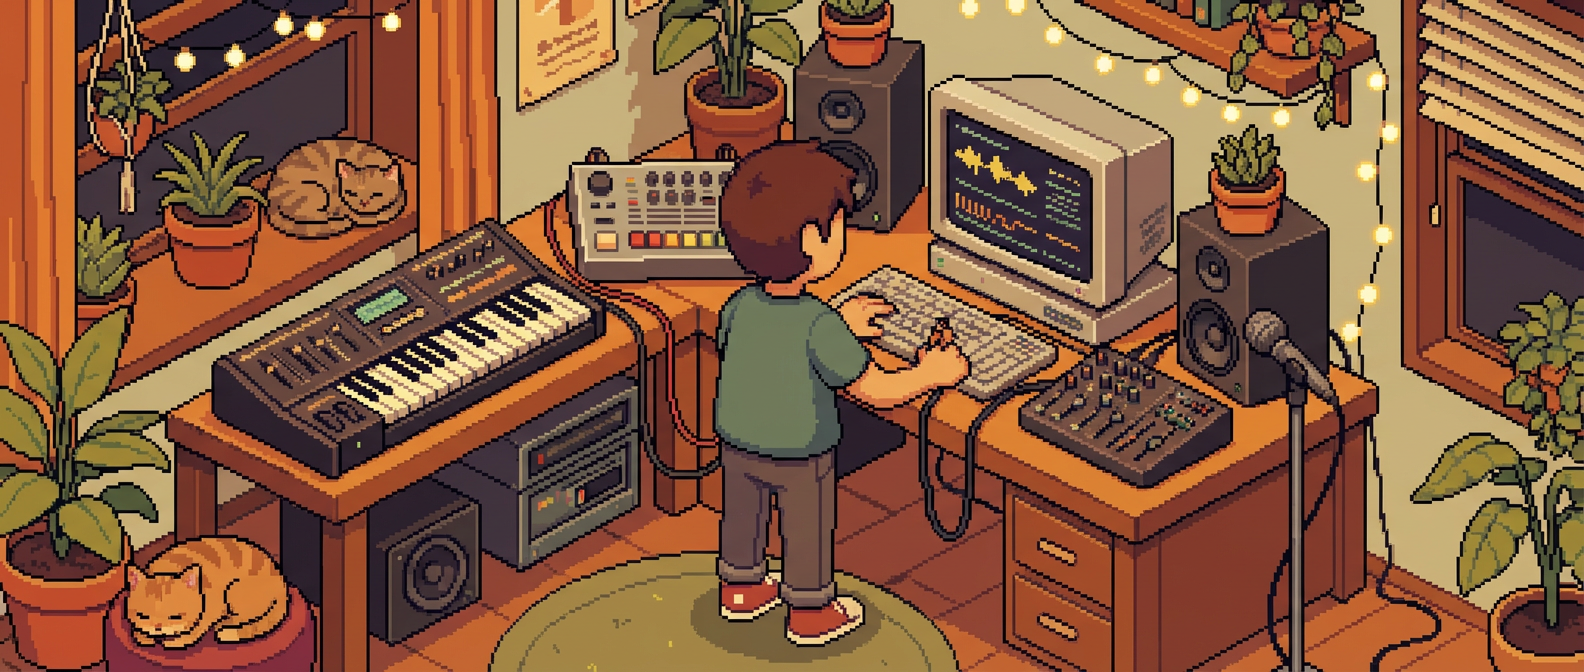
Your first studio needs three things: light, surface, and storage. Everything else is negotiable. Look around your home right now and find the spot that gets the best natural light during your preferred creative hours. North-facing windows give you steady, cool light that won’t shift dramatically throughout the day. East-facing spaces catch that golden morning glow perfect for early risers. Even a south-facing corner can work with some clever light management.
The surface is your altar. It could be a dedicated desk, a folding table, or even a large cutting board that transforms your dining table into creative territory. What matters is that it’s yours during creative time. Height matters too. Your workspace should let your arms rest comfortably while you work, whether you’re sketching, painting, or crafting.

Light: Your Most Important Creative Partner
Natural light changes everything, but it’s not always available when inspiration strikes at 9 PM. Invest in one excellent adjustable lamp rather than three mediocre ones. Look for something with at least 1000 lumens and a color temperature around 5000K to 6500K. This mimics daylight and helps you see colors accurately.
Position your light source opposite your dominant hand to avoid casting shadows on your work. If you’re right-handed, light should come from the left. Create layers of light too. Ambient lighting fills the room, task lighting illuminates your specific work area, and accent lighting can highlight finished pieces or inspiration boards.
Think about the direction of light when evaluating colors. That gorgeous purple in evening lamplight might look muddy in morning sun. Test your work under different lighting conditions if color accuracy matters for your medium. Professional artists often keep a small daylight lamp specifically for color checking.
Organization That Actually Works for Your Creative Process
Forget Pinterest-perfect studio organization. Real creative spaces need systems that work when you’re deep in the flow state and your hands are covered in charcoal or clay. Start with the tools you use most often and keep them within arm’s reach of your workspace.
Vertical storage multiplies your space exponentially. A simple pegboard can hold brushes, scissors, rulers, and small containers. Mason jars and tin cans become brush holders. A magnetic strip can wrangle metal tools. The key is visibility. If you can’t see it, you won’t use it.
Create designated zones for different phases of work. Active project space stays clear and ready. Supply storage keeps materials organized but accessible. A finishing area lets pieces dry or cure without cluttering your main workspace. Even in a tiny corner, these zones can be as simple as three small containers or sections of your table.
Think about workflow when organizing. Keep related supplies together. If you always use pencils before pens, store them near each other. If you sketch before painting, position drawing supplies between your seating and painting materials. Small efficiencies add up to more time actually creating.
Essential Tools That Actually Matter
Start with quality basics rather than complete sets. A few excellent brushes beat dozens of mediocre ones. Good paper matters more than expensive paints if you’re working in watercolor. Sharp pencils and a reliable eraser help you more than every graphite grade imaginable.
Build your toolkit gradually around actual projects, not theoretical needs. Buy the best version you can afford of tools you’ll use frequently. For occasional-use items, adequate quality is fine. A professional-grade palette knife helps you if you paint regularly, but a plastic version works fine for occasional mixing.
Consider versatility when choosing tools. A good craft knife handles detail work across multiple mediums. Quality watercolor paints can be used dry like colored pencils or wet for transparent washes. A smooth drawing surface works for pencil, pen, and light watercolor work.
Making Your Space Feel Like Sanctuary
Your studio should invite you in and hold you there. This isn’t about expensive decor but about creating an environment that signals to your brain that creative work happens here. Display work that inspires you, whether it’s your own pieces, postcards from museums, or color swatches that catch your eye.
Comfort matters for sustained creative sessions. Your chair should support good posture without feeling rigid. Keep water nearby and maybe some simple snacks. A small plant adds life to the space and improves air quality. Music or silence, whatever helps you focus, should be easily accessible.
Protect your space energetically too. If your studio doubles as another room, create rituals that transform the space. Light a candle when you begin creating. Play specific music. Clear the surface mindfully. These small actions signal the transition from daily life to creative time.
The most important element of any studio is regular use. A simple corner with supplies you actually touch creates more art than an elaborate setup that intimidates you. Start creating in whatever space you can claim, and let your growing practice guide your growing space. What feels impossible in your current living situation today might become the foundation for your dream studio tomorrow. The art is waiting. Your space, however humble, is ready.